Replacing a Worn Cylinder in an Antique Music Box
One of the most common and challenging repairs needed for antique cylinder music boxes is replacing a worn or damaged cylinder. Cylinders, the heart of a cylinder music box, are delicate and responsible for carrying the pins that activate the tune. Over time, they can wear down, become cracked, or even break, resulting in a distorted or silent melody. This tutorial provides a step-by-step guide to identifying the correct replacement and performing the replacement process.
Understanding Cylinder Music Boxes & Why Replacement is Necessary
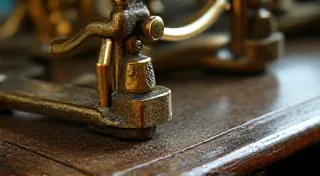
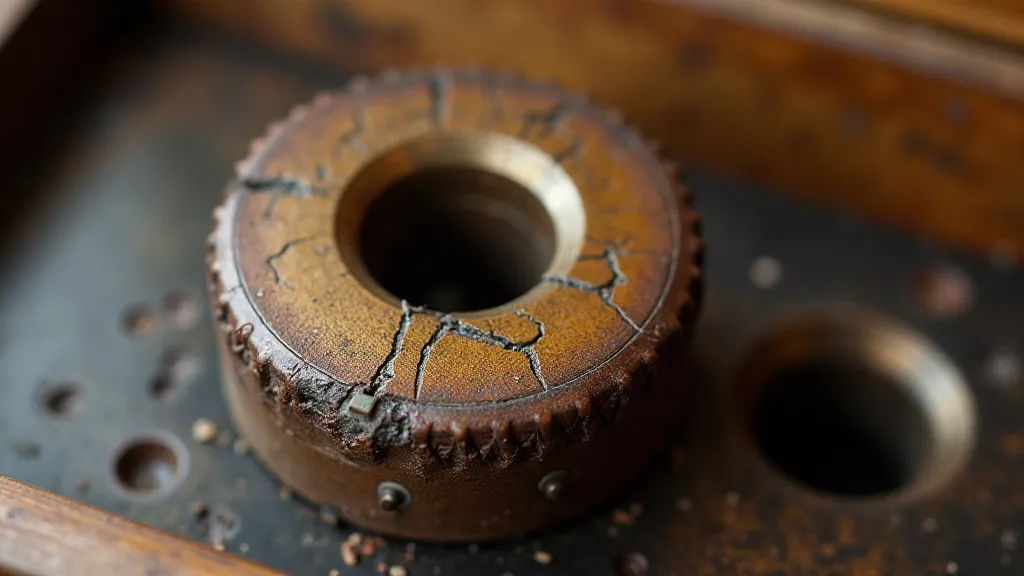
Cylinder music boxes operate using a rotating metal cylinder studded with tiny pins. As the cylinder turns, the pins strike teeth on a metal comb, producing the musical notes. Damage to the cylinder manifests as chipped pins, rounded or flattened pin placement, cracks, or even complete breakage. These issues significantly impact the clarity and accuracy of the music. A worn cylinder will produce a muffled, distorted, or incomplete tune.
Identifying the Correct Replacement Cylinder
Finding the right replacement is crucial. Cylinders vary significantly in size, pin count, and overall design. Here’s what to consider:
- Music Box Model: The most critical factor. Different music box models utilize distinct cylinder specifications. Knowing the model number is *essential*. If you don't have this information, it can be challenging to find a suitable replacement. Look for manufacturer’s marks inside the music box or on the movement.
- Cylinder Length & Diameter: Precise measurements are key. A cylinder that’s too long or too short won’t fit correctly. Similarly, the diameter must match the music box's mechanism.
- Pin Count: The number of pins directly correlates with the complexity of the tune. Match the pin count precisely.
- Cylinder Type: Cylinders can be spring-driven (common in earlier models) or geared (more prevalent in later models). Ensure compatibility with the music box's drive mechanism.
- Material: Cylinders are typically made of steel. The quality of the steel influences durability and sound quality.
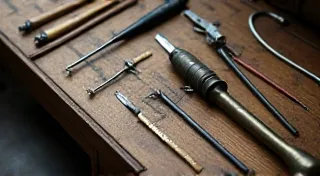
Tools and Materials Needed
- New replacement cylinder (correct model and specifications)
- Small screwdrivers (various sizes)
- Fine tweezers
- Soft cloth
- Lubricant (music box oil or similar)
- Magnifying glass (for detailed inspection)
- Needle-nose pliers (optional, for delicate handling)
Step-by-Step Replacement Procedure
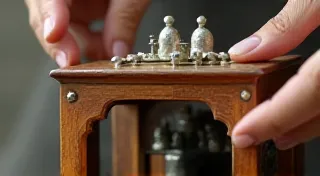
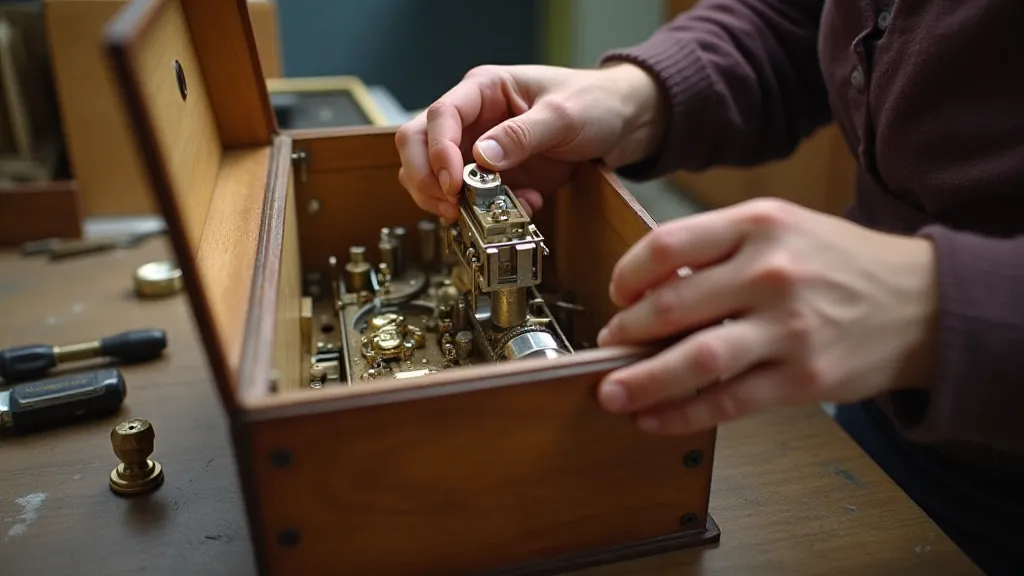
- Disassembly: Carefully disassemble the music box movement. This process is delicate and requires attention to detail. Take photos as you go to aid in reassembly. Note the order of all components.
- Removing the Old Cylinder: The cylinder is usually held in place by a retaining clip or screws. Carefully release the old cylinder. Be extremely cautious not to damage the comb or other delicate parts.
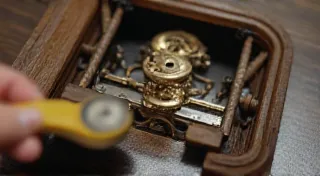
- Cleaning the Cylinder Bed: Before installing the new cylinder, thoroughly clean the cylinder bed (the area where the cylinder sits) using a soft cloth to remove any debris or old lubricant.
- Installing the New Cylinder: Gently slide the new cylinder into the cylinder bed. Ensure it sits squarely and rotates freely.
- Securing the Cylinder: Secure the cylinder using the original retaining clip or screws. Don't overtighten!
- Lubrication: Apply a small amount of music box oil to the cylinder's rotating surfaces and the pins. This ensures smooth operation and reduces friction.
- Testing: Carefully test the music box to ensure the new cylinder is functioning correctly. Listen for a clear and accurate rendition of the tune.
- Reassembly: Reassemble the music box movement in the reverse order of disassembly.
Important Considerations and Potential Challenges
- Pin Alignment: In some cases, the pins on the new cylinder might require slight adjustments to align perfectly with the comb. This is a delicate task best left to experienced restorers.
- Comb Condition: The condition of the comb itself plays a vital role in the music’s quality. A damaged comb can significantly detract from the sound, even with a new cylinder.
- Rust Prevention: New cylinders are generally treated to prevent rust, but periodic lubrication helps maintain their condition.
- Finding Replacement Parts: Sourcing correct replacement cylinders can be challenging. Specialized suppliers of antique music box parts are often the best resource.
Replacing a worn cylinder is a complex restoration task that demands patience, precision, and a thorough understanding of antique music box mechanisms. If you're not comfortable performing this repair yourself, it's best to consult a professional music box restorer.