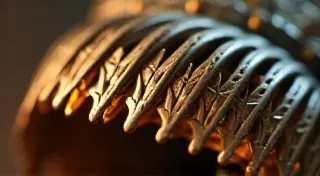
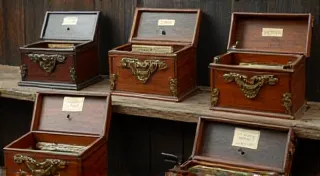
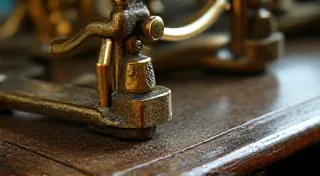
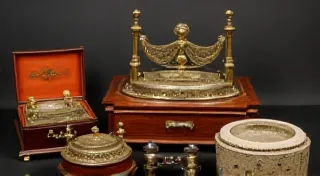
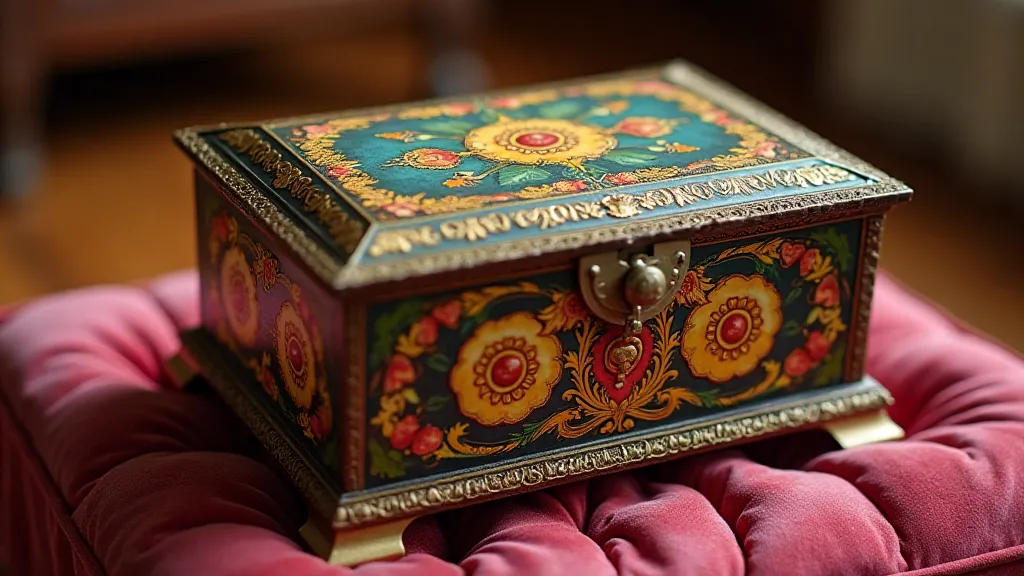
Restoring Painted Finishes on Antique Music Boxes
Antique music boxes are captivating objects, often adorned with delicate and intricate painted finishes. These finishes, however, are notoriously vulnerable to wear and tear, damage from age, and improper handling. Successfully restoring these painted surfaces is crucial to preserving the beauty and value of your music box. This guide will walk you through the process, from careful cleaning to subtle touch-ups and protective coatings.
Understanding the Original Finish
Before you begin any restoration work, it’s essential to understand the type of paint originally used on your music box. Early music boxes often featured hand-painted designs using traditional oil-based paints or watercolors. Later models might have employed enamel paints or even early lacquer finishes. Identifying the type of finish will inform your cleaning and restoration methods.
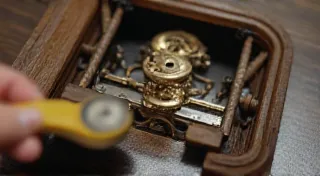
Cleaning the Painted Surface
The first step is to gently clean the painted surface. Avoid harsh chemicals or abrasive materials, as these can easily damage the paint. Here’s a recommended approach:
- Dusting: Begin by carefully dusting the surface with a soft brush.
- Mild Soap & Water: Mix a very mild solution of warm water and dish soap (a single drop of soap per cup of water). Dampen a soft cloth (microfiber is ideal) with the solution and gently wipe the surface. Dry immediately with a clean, dry cloth.
- Solvent Testing (Important!): Before applying any solvent, *always* test it in an inconspicuous area of the music box. Use a cotton swab dipped in the solvent, gently rub, and observe the effect. Common solvents to consider (after testing!) include mineral spirits or naphtha. Less is more – use sparingly!
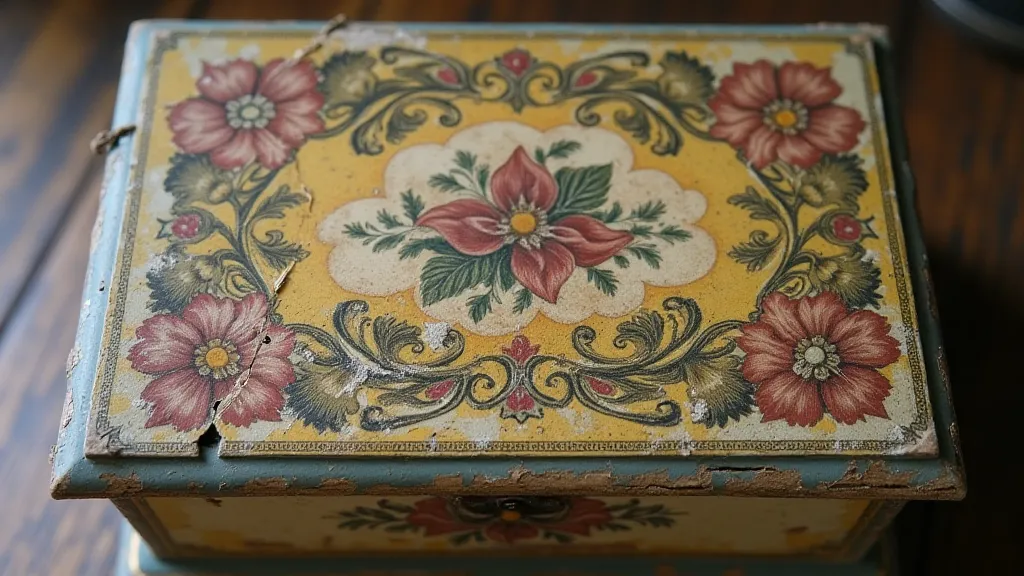
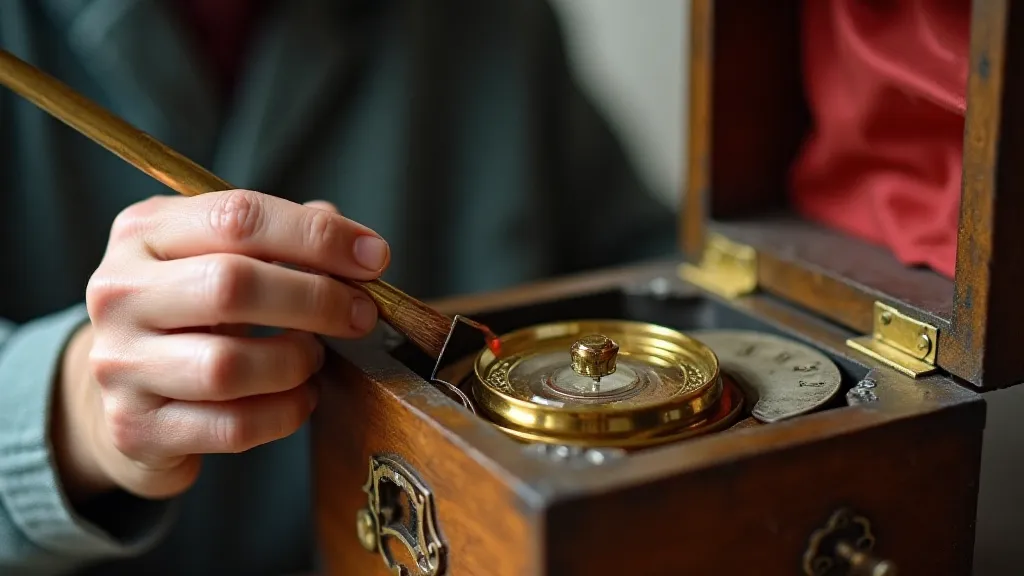
Addressing Paint Loss & Touch-Ups
Areas of paint loss or chipping are common on antique music boxes. While a complete repaint is rarely advisable (as it diminishes the original character), subtle touch-ups can dramatically improve the appearance.
- Color Matching: This is key. Ideally, use a paint matching service to get a precise color match. Otherwise, carefully observe the surrounding colors and try to mix your own.
- Application: Apply the touch-up paint with a fine-tipped brush, using very thin coats. Allow each coat to dry completely before applying the next. Feather the edges of the touch-up to blend with the existing paint.
- Layering: Multiple thin layers are always preferable to one thick coat. This will minimize visible edges and ensure a smoother finish.
Protective Coatings
Once the paint restoration is complete, protecting the finish is essential. Several options are available:
- Wax: A thin coat of high-quality microcrystalline wax can provide a subtle sheen and protect against minor scratches.
- Lacquer (Caution!): Modern lacquer can provide a durable finish, but requires careful application and ventilation. This is best left to experienced restorers. The solvents used in lacquer can damage some older finishes, so testing is vital.
- Acrylic Sealant: A clear acrylic sealant can provide a protective layer without significantly altering the appearance of the paint.
Regardless of the coating you choose, always apply it in thin, even coats and allow it to dry completely between coats. Follow the manufacturer's instructions carefully.
Ethical Considerations
Remember that the goal of music box restoration is to preserve the original character of the piece. Over-restoration, or a complete repaint, can detract from its value and historical significance. Always strive for a conservative approach, focusing on stabilization and gentle repair rather than drastic alteration.
Further Research
Restoring antique music boxes requires patience, skill, and a deep understanding of antique finishes. This guide provides a basic overview, but further research and experimentation are encouraged. Consider consulting with experienced music box restorers for personalized advice and advanced techniques.