Cleaning and Lubricating Your Antique Music Box – A Step-by-Step Guide
Your antique music box is a treasure, a miniature mechanical marvel brimming with history and charm. Regular maintenance, specifically cleaning and lubrication, is crucial to preserving its functionality and preventing costly repairs. This guide provides a detailed, step-by-step approach to safely cleaning and lubricating your music box movement. Please read the safety precautions carefully before you begin.
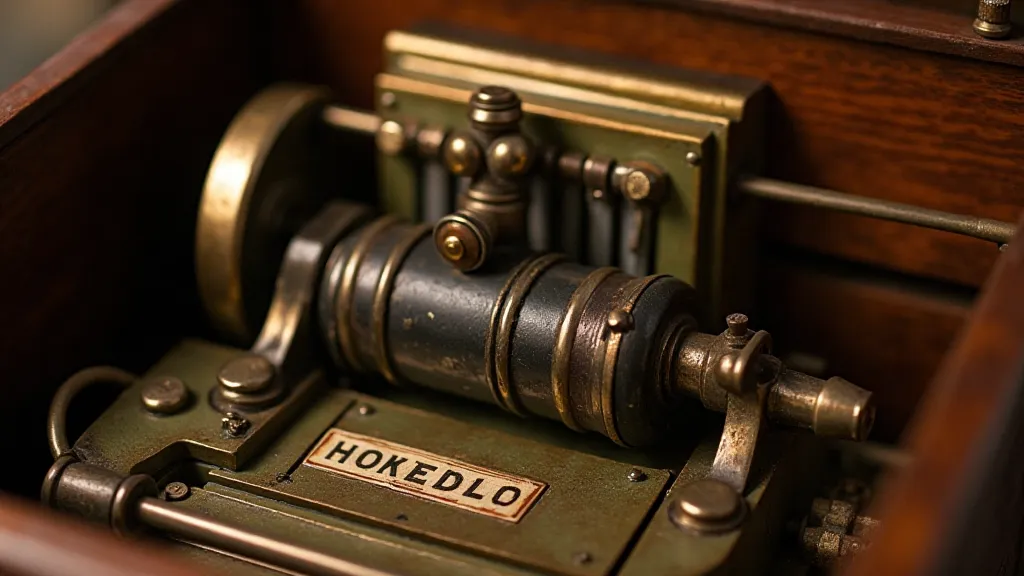
Understanding the Importance of Cleaning and Lubrication
Over time, dust, grime, and old, dried-out lubricants accumulate inside a music box. This buildup can cause the movement to become stiff, slow, or even seize completely. Proper cleaning removes these contaminants, while lubrication ensures smooth operation and reduces friction on delicate components. Neglecting these tasks can lead to irreversible damage and diminish the music box's value.
Safety Precautions – Read This First!
- Disconnect Power: If your music box is electrically powered, disconnect it from the outlet.
- Gentle Handling: Music box movements are intricate and fragile. Handle with extreme care and avoid applying excessive force.
- Clean Workspace: Work in a clean, well-lit area. A dedicated workspace will prevent contamination of the movement.
- Photography: Take photographs of the movement before, during, and after disassembly. This will serve as a valuable reference when reassembling.
- Appropriate Tools: Use only specialized tools designed for watch and clock repair. Avoid using excessive force with any tool.
- Ventilation: Work in a well-ventilated area when using solvents.
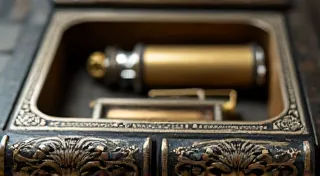
Tools and Materials You'll Need
- Small screwdrivers (various sizes)
- Tweezers
- Soft brushes (artist’s brushes are ideal)
- Cleaning solvent (e.g., naphtha or mineral spirits – use sparingly and with proper ventilation)
- Music box lubricating oil (specifically designed for fine mechanisms)
- Cotton swabs
- Soft cloths
- Magnifying glass or loupe
- Small containers for parts
Step-by-Step Cleaning Process
- Disassembly: Carefully disassemble the music box movement, taking detailed photographs as you go. Note the placement of each component. Start by removing the outer casing and then disassemble the movement itself.
- Initial Cleaning: Use a soft brush to gently remove loose dust and debris from all components.
- Solvent Cleaning: Dampen a cotton swab or soft cloth with cleaning solvent. Gently wipe each component, paying close attention to areas with heavy grime buildup. Avoid soaking parts; a light application is sufficient.
- Brushing: Use a soft brush to scrub away stubborn grime in hard-to-reach areas.
- Drying: Allow all components to dry completely. This may take several hours or even overnight.

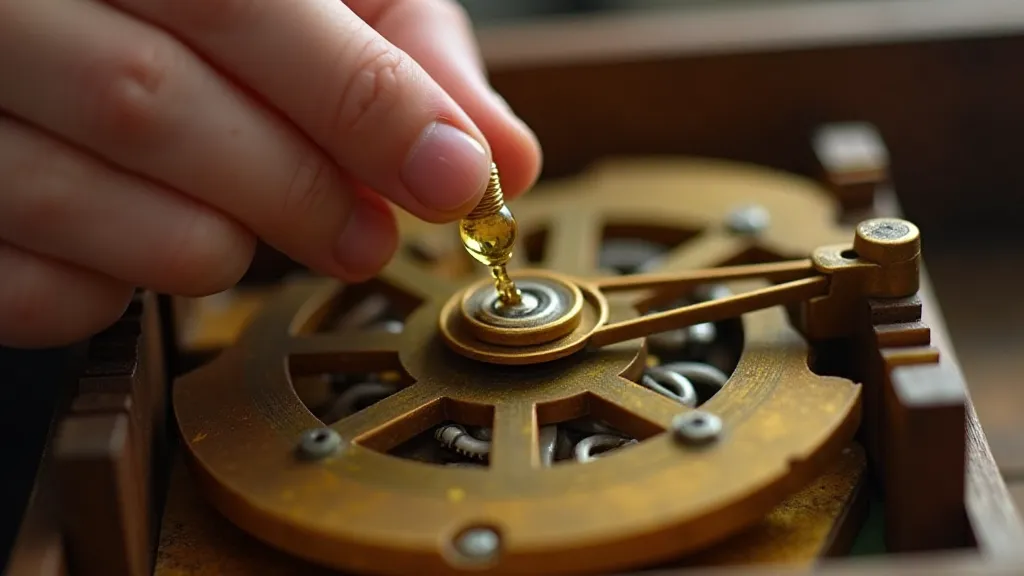
Lubrication – The Key to Smooth Operation
Once the movement is clean and dry, it’s time to lubricate. Use only high-quality music box lubricating oil. Avoid using general-purpose oils, as they can damage the delicate mechanisms.
- Identify Lubrication Points: Consult a repair manual or online resources to identify the precise locations where lubrication is required. Common points include gear teeth, pivots, and lever arms.
- Apply Lubricant Sparingly: Use a fine applicator or toothpick to apply a tiny drop of oil to each lubrication point. Less is more – excessive oil can attract dust and create more problems.
- Avoid Over-Oiling: A tiny dab is all that's needed. Avoid puddling or excessive application.
Reassembly and Testing
- Careful Reassembly: Using your photographs as a guide, carefully reassemble the music box movement.
- Gentle Testing: After reassembly, gently wind the music box and listen for smooth operation. If you notice any stiffness or unusual noises, double-check your work and make adjustments as needed.
- Observation: Observe the music box’s performance over the following days to ensure everything is functioning correctly.
Important Considerations
This guide provides a general overview of cleaning and lubricating an antique music box. The specific techniques and procedures may vary depending on the model and complexity of the mechanism. If you are unsure about any aspect of the process, it's best to consult a qualified antique music box repair specialist.
Regular cleaning and lubrication – even simple maintenance – will extend the life of your antique music box and ensure that it continues to delight for years to come.