The Art of Inlay on Antique Music Boxes: Techniques and Materials
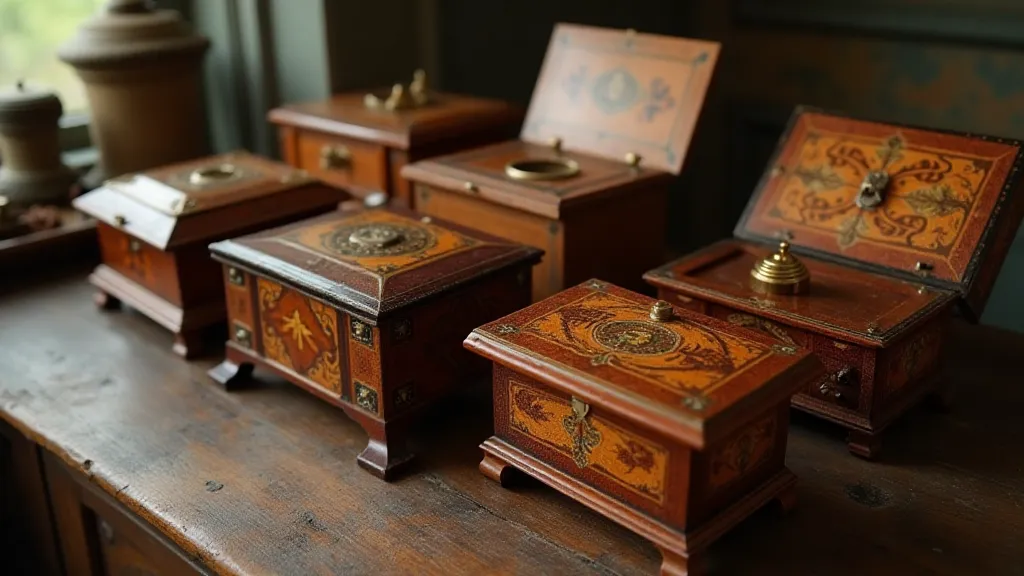
Antique music boxes are more than just sources of enchanting melodies; they are often exquisite examples of craftsmanship, displaying intricate details and artistry. Among the most captivating of these details is inlay work. This article will delve into the art of inlay on antique music boxes, exploring the materials used, the techniques employed, and appreciating the skill of the artisans who created these beautiful objects.
What is Inlay?
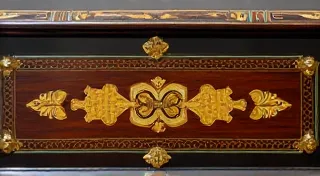
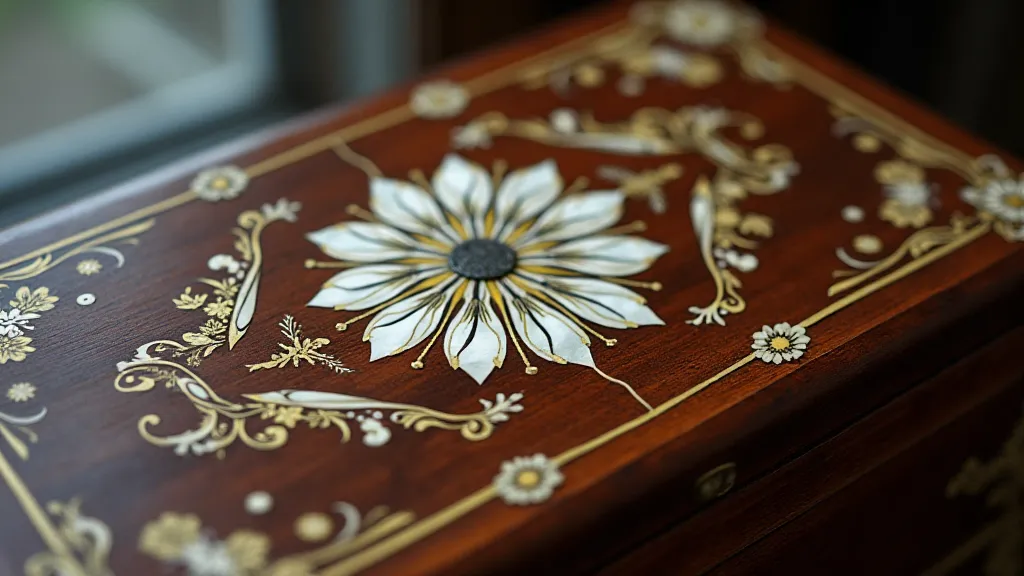
Inlay, in the context of antique music boxes, refers to the process of inserting smaller pieces of a contrasting material into a base material to create a decorative pattern or design. It's a time-consuming and demanding technique that requires a steady hand and a keen eye for detail. The designs ranged from simple geometric patterns to elaborate floral motifs and even miniature scenes.
Common Materials Used
The materials used for inlay on antique music boxes varied depending on the era, region, and the intended aesthetic. Here's a look at some of the most prevalent:
- Mother-of-Pearl (Nacre): Undoubtedly the most iconic inlay material, mother-of-pearl provides a shimmering, iridescent effect that is instantly recognizable on many antique music boxes. It’s derived from the inner lining of certain mollusk shells.
- Ebony: A dense, dark wood, ebony was frequently used to create contrast against lighter woods or mother-of-pearl.
- Rosewood: Another popular wood, rosewood’s rich grain and reddish-brown hue added warmth and visual interest.
- Maple: A lighter colored wood frequently used as a base and highlighted with darker inlays.
- Brass & Other Metals: Occasionally, metals like brass were incorporated for decorative accents, particularly in later music boxes.
Techniques Employed
The process of creating inlay work is complex and multi-staged. While variations existed, the general principles were consistent:
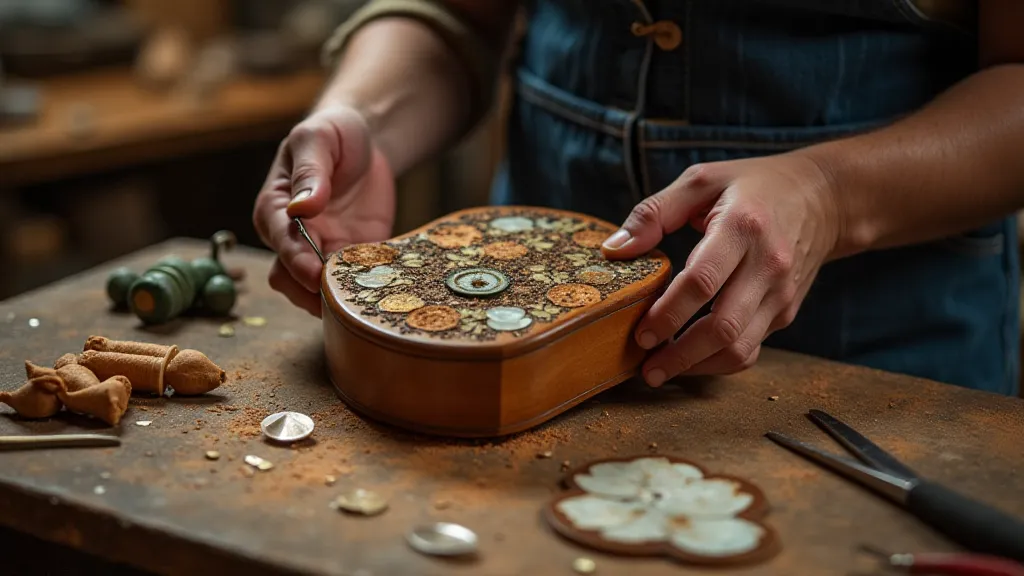
- Design and Layout: The artisan would first carefully plan the design. This often involved creating a template.
- Cutting and Shaping: The inlay materials were meticulously cut and shaped to match the design. This involved specialized tools like saws and chisels.
- Creating the Recesses: Precise recesses were carved into the base material to accommodate the inlay pieces.
- Fitting and Gluing: The shaped pieces were then carefully fitted into the recesses. Traditionally, hide glue was used for bonding, providing a strong and reversible bond.
- Surface Smoothing: Once the glue dried, the surface was meticulously smoothed and leveled, ensuring a flush and seamless finish. This often involved hours of painstaking sanding.
- Polishing: The final step involved polishing the entire surface to reveal the beauty of the materials and enhance the visual appeal.
The Artisans Behind the Art
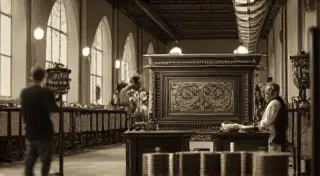
The creation of inlaid antique music boxes required immense skill and patience. The artisans were true masters of their craft, possessing a deep understanding of materials and techniques. Their skill transformed simple objects into treasured heirlooms, demonstrating a commitment to quality and artistry. Many were working in specialized workshops often producing a small number of units or customized products.
Restoration Considerations
Restoring inlay work on antique music boxes presents unique challenges. Due to the nature of the materials, extreme caution must be exercised to avoid damaging the inlay. Loose inlay pieces are often secured with fresh hide glue. The goal is to preserve the original work, not to replicate it. Often, a careful cleaning and stabilization is all that is needed.
Appreciating the Legacy
The inlay work found on antique music boxes serves as a lasting testament to the skill and artistry of generations past. Understanding the techniques and materials used helps us appreciate the value and beauty of these remarkable objects, allowing us to connect with the legacy of the artisans who created them.